
Sometimes even the most gear obsessed sportsman overlooks the importance of cleaning their gear. This, however, is nonsense. Think of your favorite fly rod, and your favorite reel. Think of the first day you got them- the sound of that smooth new line coming out, the ease of sending your leader tip out so effortlessly, the way the line lays so flat on the reel when bringing it in- wasn’t that nice? You could have that all the time! It just takes a little bit of work.
Keeping all your gear clean is important- not just to make it look new and cool, but because with clean gear it is easier to identify any cracks or inconsistencies you might otherwise miss, and it makes for a smoother fishing experience. Keeping your rod, bag and net clean make for a happier fisherperson, and a happier fish. But today let’s just focus on your reel and your line. A clean reel is incredibly important, this is your primary tool for bringing in your fish, and you want to trust it 100%. Giving it some love on a fairly regular basis will make it last longer by keeping you aware of any inconsistencies or slight malfunctions. Preventive measures are usually a lot easier to work with than reactionary ones! When it comes to your line, clean is better. A dirty line will feel gritty, will act slower, and can sink when it should float. Micro grit can alter the essence of your line, changing the user from a flawless, stealthy, fishing ninja into a clunky, dirty, line thrower. It may not be that serious, but truthfully, a clean line will send farther, feel smoother, lay straighter and perform significantly better. So let’s get to it!

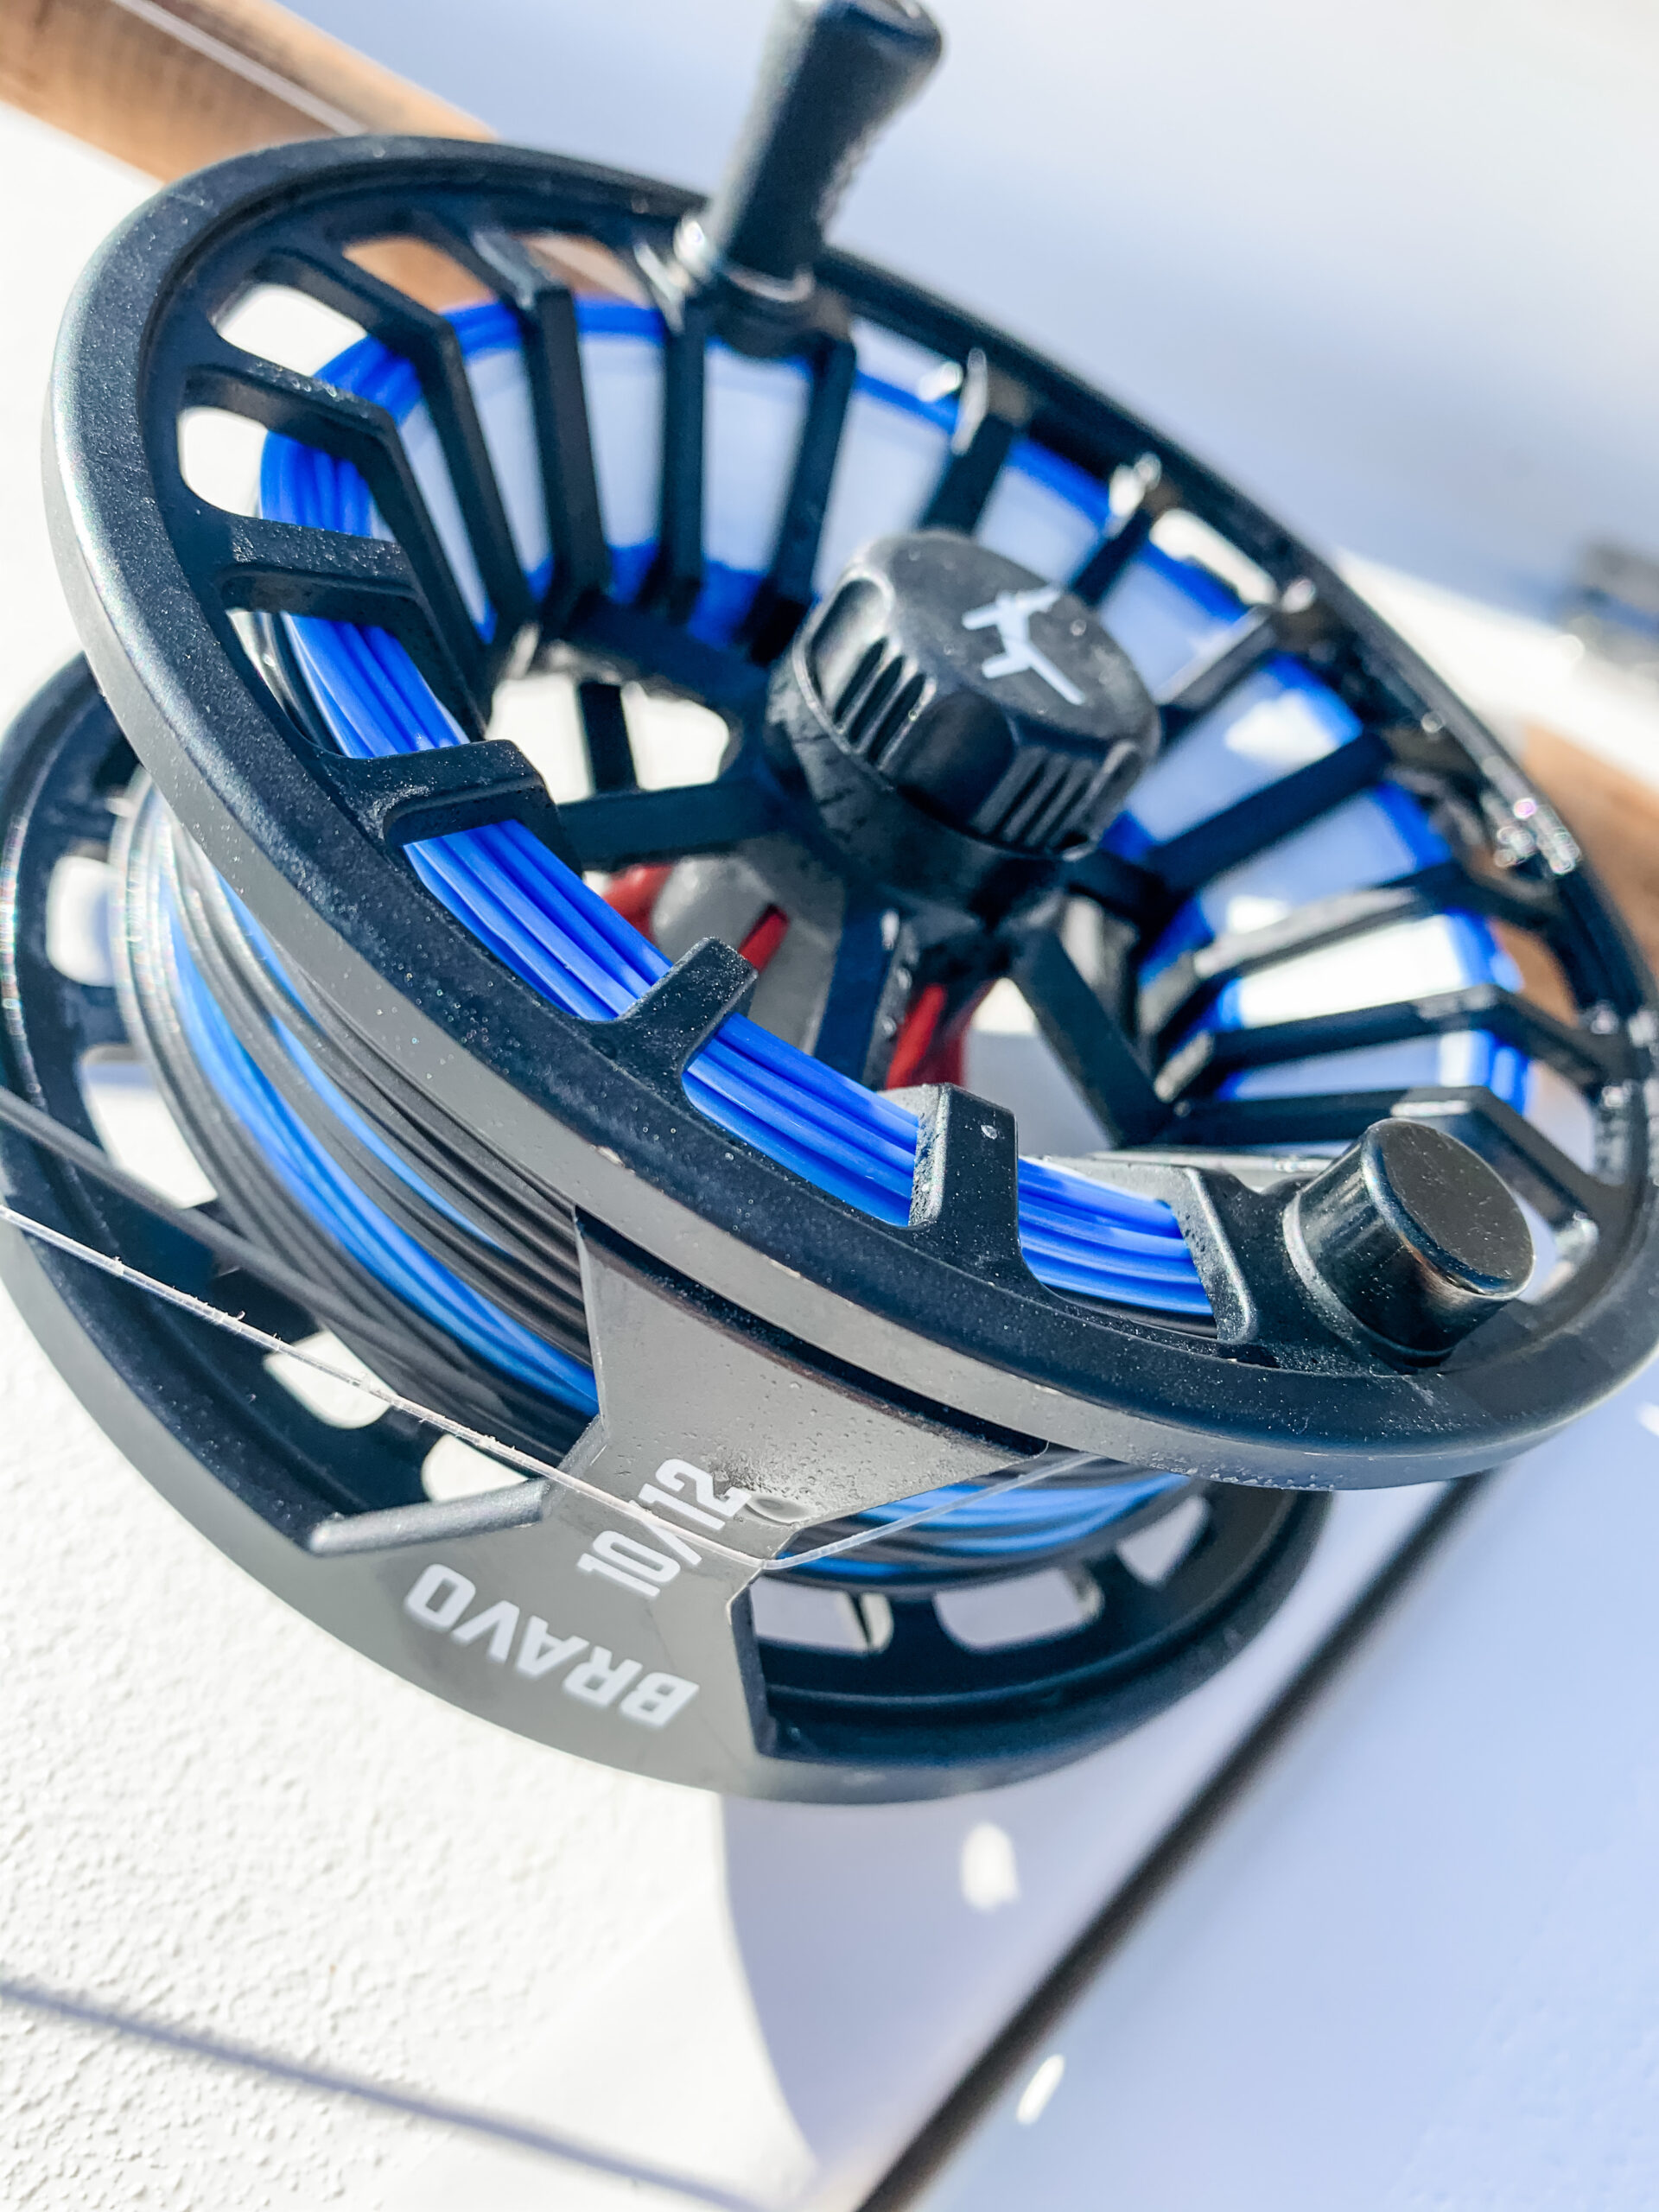
Cleaning your reel is simple- cool water and a cloth or toothbrush can work well. Make sure you are in a place where you can keep track of the parts, especially if you take it apart piece by piece. I like to lay out a hand towel and place the parts only on that cloth. Keep a bucket nearby with cool water for rinsing. Once you remove your spool, you may see some dirt on the rim and spool. Use the water to clean the rim, lightly scrub off any grit and dirt with the cloth and let sit on the towel to dry. Now, do the same with your spool.

Hint: this is a good time to clean your line. You can simply remove your line by loosely unraveling it from the spool and letting it sit for 15 minutes or so in a bucket of warm water and soap. I use non-toxic dish soap like Meyers, and suggest steering clear of very intense soaps, because they tend to break down the line. When I clean my reel, I don’t take off the backing because there is so much of it, and I am not concerned with how clean it is (honestly, I don’t often go into my backing). If you want to unwrap your backing, you absolutely can, but keep in mind it is usually at least 50 yards long and very thin, so wrapping this by hand is cumbersome.

After letting the line soak, hold a wet wash cloth in one hand, and with the other, pull the line out of the water, through the cloth and let coil loosely on the floor (make sure your floor is clean). Once you have worked your way through the line, you can use line conditioner to prevent cracks. The process for this is very much the same. Soak a dry wash cloth with the line conditioner, and pull the line slowly with one hand through the soaked cloth in the other. Because this conditioner keeps the line from getting super dry, I get a little OCD about where the line goes once it has been applied- I like it to sit somewhere that it won’t collect any dust or small dirt particles from the ground. For this step, I like to use a clean sheet that I have shaken out. Once the line is on the sheet, I go back to the reel and thoroughly clean all the nooks and crannies before putting it back together. I like to take my reel all the way apart, even going into the drag system, this is because I love knowing how my gear works. This part of the reel is usually pretty clean, and has very small parts, so if you’re nervous about assembly, this part can be skipped.
Now, back to the line. This point is where I stop cleaning and rewrap my spool. People do this in various ways- professionals like Fishwest use a line spooler, but this isn’t a necessity. The two primary at-home options are to keep the line in one hand, and the spool in the other and wrap the line that way, or to put your reel together and attach it to your fishing rod, and reel in that way. I like to use the rod method because it is easier to guide the line. When you start, remember to keep some tension on the line as you pull it around the reel. This makes for a tight wrap, which means there won’t be any extra slack in your reel once you are on the water. I usually take this process pretty slowly so that I keep the tension even (all you knitters out there know all about this). A second very important factor, is to guide your line from one end of the spool to the other, so that your line lays flat across, and is not bulking in any one section. This should come second nature to you, as this practice should be done while you are reeling in fish on the water, or at least at the end of your day after final cast. Once you are wrapped, you are good to go! It is important to remember your leader and tippet here. If you are at home, this is a good time to assess your leader length and age, assess your knots and make adjustments if needed.

The final step to this process is to use your newly cleaned reel and line! Remember, if this process feels like too much, no shame! That is what Fishwest loves to help you with! Stop into the shop for a more in depth tutorial OR for them to clean your line. They carry great conditioners for your line like Umpqua’s Russ Peak Line Dressing and can tune up your reel in no time.


