
Late summer and early fall is one of my favorite times of year for “dry flies.” I use that term loosely because honestly what I am talking about right now is big foam bugs that are very difficult to sink. One of my favorite flies for this season is a Chernobyl Ant. I’ve seen these tied up in a bunch of different styles, so here is the style of Chernobyl Ant that I have used year after year and have caught thousands of fish using this exact style.
Ingredients:
Hook: TMC3769 Size 4-12
Foam: Hareline Thin Foam or some type of Chernobyl Fly Body (two tone)
Foam Body Cutter: Hareline Chernobyl Style
Thread: Veevus 8/0
Dubbing: Laser Dub – Tan
Legs: Black Rubber Legs
A couple quick notes on the product selection going on:
- Choose a heavier wire hook with a wider gap to help keep the fly floating the way it is supposed to. I haven’t had much success catching fish while this fly is doing the back-stroke.
- You can really choose any foam you want to use, I like the two tone prebuilt stuff because it is easy. A more economic way to tie this fly would be to buy the 2mm foam in different colors then stack and cut accordingly.
- Use whatever legs you want – I haven’t seen a dramatic difference in success between using black, brown, green, or chartreuse colored legs.
So onto the step by step tying instructions for this floating piece of foam awesomeness:
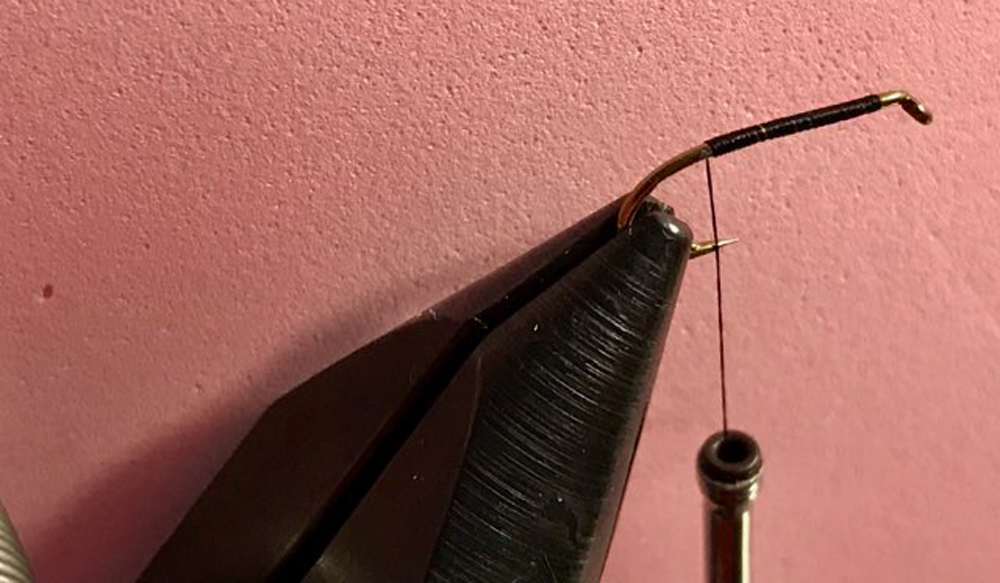
Step 1:
Put your hook in the vise, lay down a simple thread base and then use a small amount of dubbing to cover the rearmost section of the hook.
Step 2:
If you have pre-cut foam skip this step. If you are taking the more cost efficient method please trim your foam to be 1/8″ wide or smaller with a pointed taper towards towards the tail that extends roughly ½ the hook length.
Step 3:
Tie in the foam above the hook point with several tight securing wraps. Don’t stress if the foam is a little squirmy at this point and travels a little on the hook. Adjust the foam on the hook if it isn’t centered properly.

Step 4:
Tie in your legs. I’ve seen a couple ways of tying rubber legs in and this tends to be the easiest way (in my opinion) to tie them in on this particular pattern. Take two one-inch sections of rubber legs and lay them so that roughly the middle of the legs is centered where you just tied down the foam. Take three loose wraps then gently slide one leg to each side of the foam. Take one or two tight wraps to lock the legs in place.

Step 5:
Create a small dubbing noodle and use that to cover the thread wraps that were just used to tie in the body and legs. After that is covered, use some more dubbing to dub up about 2-3 eye lengths away from the eye of the hook. At this point I recommend a small dab of superglue to help adhere the foam to the topside of the dubbing.

Step 6:
Tie down the foam 2-3 eye lengths behind the eye of hook and then repeat step 4 to attach the front legs. After the legs are tied in, cut a small piece of foam to act as a indicator/sighter and tie that in on the top side of the fly. (you could do this on the rear as will to increase visibility, which I do regularly). Use a small dubbing noodle and cover up the thread wraps.


Step 7:
Build up a small thread head, whip finish and trim the front end of the foam down to end barely in front of the hook eye. And you’re done!

Like I mentioned this has been one of my personal favorite flies to use as a “hopper” style fly. It is super easy to tie, and super effective! I hope you can whip up a few before it gets cold and go see what fish you can make give you a hungry response! Tight line friends!


